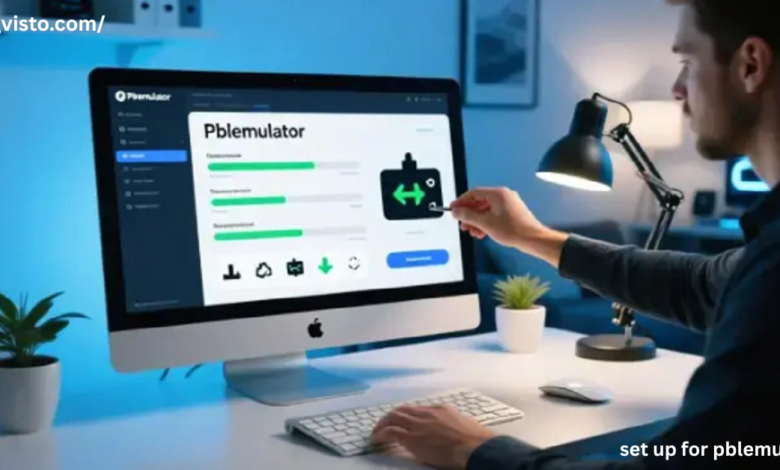
If you’re looking to understand how to set up for pblemulator, you’re in the right place. Whether you are a beginner experimenting with emulation for the first time or an experienced user optimizing performance, this guide will walk you through the entire process in a clear and structured way.
This article explains system requirements, installation steps, configuration, controller setup, troubleshooting, and performance optimization — all while keeping things straightforward and practical.
What Is Pblemulator?
Before you begin the set up for pblemulator, it’s important to understand what it does.
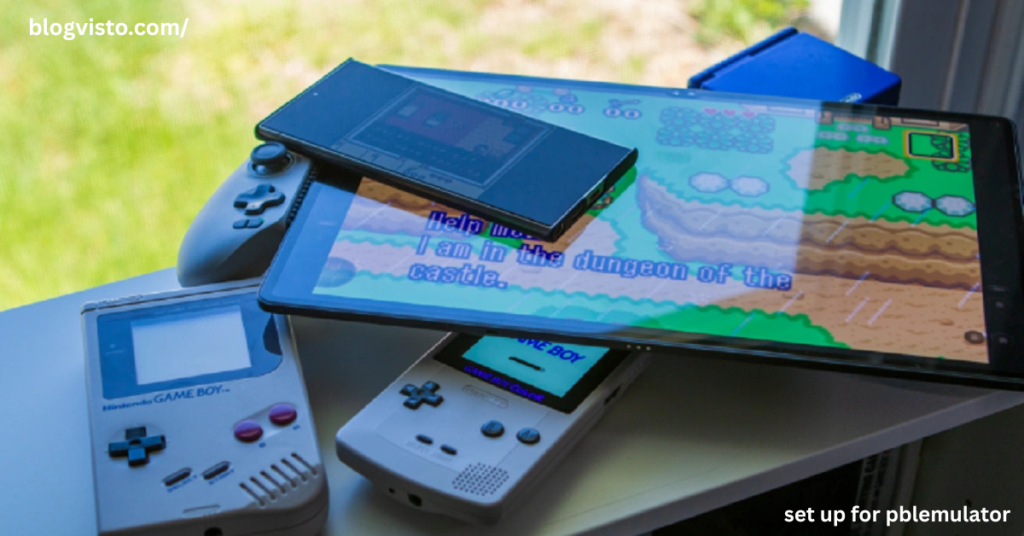
Pblemulator is an emulation platform designed to replicate a specific hardware or software environment on your computer or device. Emulators allow users to run programs, games, or applications that were originally designed for another system.
People typically use emulators for:
- Gaming preservation
- Software testing
- Educational research
- Development purposes
Now let’s move into the practical setup process.
System Requirements for Set Up for Pblemulator
Before installing anything, make sure your system meets the basic requirements.
Minimum Requirements
- Windows 10 / macOS 11 / Modern Linux distribution
- 4GB RAM
- Dual-core processor
- 2GB free storage
- Basic GPU support
Recommended Requirements
- 8GB RAM or more
- Quad-core CPU
- Dedicated GPU
- SSD storage
- Updated graphics drivers
Having stronger hardware ensures smoother performance and fewer crashes.
Downloading the Files for Set Up for Pblemulator
The next step is downloading the necessary files.
Step 1: Get the Installer
Download the official installer package for your operating system.
Step 2: BIOS or System Files (If Required)
Some emulators require BIOS or firmware files. Ensure you legally obtain these from your own hardware if needed.
Step 3: Game or Software Files
Use legally owned ROMs or application files compatible with the emulator.
Keep all files organized in a dedicated folder to simplify configuration later.
Installation Process in Set Up for Pblemulator
The installation process is usually simple.
On Windows
- Run the installer.
- Choose installation directory.
- Follow on-screen instructions.
- Launch after installation.
On macOS
- Open the .dmg file.
- Drag the application to Applications.
- Allow permissions if prompted.
On Linux
- Use the package manager or terminal installation.
- Install dependencies.
- Launch via terminal or app launcher.
Once installed, do not immediately start loading games — configuration is important first.
Initial Configuration in Set Up for Pblemulator
After installation, open the emulator and configure basic settings.
Graphics Settings
- Choose appropriate rendering backend (OpenGL, Vulkan, etc.)
- Adjust resolution scaling
- Enable hardware acceleration
Audio Settings
- Select correct audio device
- Keep latency low for better synchronization
Directory Setup
- Add folders for ROMs
- Add BIOS directory if required
Save settings before proceeding.
Controller Configuration for Set Up for Pblemulator
Playing with a controller improves the experience.
Connecting a Controller
- Plug via USB or connect through Bluetooth.
- Confirm your OS detects it.
Mapping Buttons
- Open controller settings.
- Assign each button manually.
- Save configuration profile.
You can also configure keyboard controls if you prefer.
Advanced Settings in Set Up for Pblemulator
Once the basic setup is complete, you may want to fine-tune performance.
Performance Tweaks
- Enable frame skipping (if needed)
- Turn on multi-threading
- Adjust shader settings
Save States
- Enable save state functionality
- Set hotkeys for quick saving/loading
Resolution Scaling
Higher scaling improves visuals but requires stronger hardware.
Testing Your Set Up for Pblemulator
After configuration:
- Load a compatible file.
- Observe performance.
- Check audio sync.
- Test controller responsiveness.
If everything runs smoothly, your setup is complete.
Common Issues During Set Up for Pblemulator
Even a proper setup may encounter issues.
Emulator Not Launching
- Reinstall software
- Check system compatibility
- Update drivers
Black Screen
- Verify BIOS file
- Change rendering backend
Low FPS
- Lower resolution scaling
- Disable heavy graphics enhancements
- Close background apps
Controller Not Working
- Reconnect device
- Remap buttons
- Update drivers
Most issues are configuration-related and easily fixable.
Optimizing Performance After Set Up for Pblemulator
To maximize smooth gameplay:
- Keep GPU drivers updated
- Use SSD storage
- Avoid overheating
- Close unnecessary background programs
- Adjust graphics balance between quality and performance
Small adjustments can significantly improve stability.
Security and Legal Considerations
When performing a set up for pblemulator, ensure:
- You use legally obtained BIOS files
- You own the original games/software
- You avoid unofficial builds from unsafe sources
This keeps your system secure and avoids legal complications.
Maintenance Tips After Set Up for Pblemulator
To maintain long-term performance:
- Check for emulator updates regularly
- Backup save states
- Organize ROM folders
- Clean cache files occasionally
Keeping things tidy ensures stability.
Final Thoughts on Set Up for Pblemulator
Learning how to properly set up for pblemulator is not complicated when broken into clear steps:
- Verify system requirements
- Install correctly
- Configure graphics and controls
- Optimize performance
- Test thoroughly
Once completed, you can enjoy a stable and smooth emulation experience.
Whether you are using it for gaming, research, or software testing, a proper setup ensures better performance, fewer errors, and a more enjoyable experience overall.
By following this structured guide, you should now be fully prepared to complete your own set up for pblemulator with confidence.